Shelf Reset Checklist: What Retailers Should Confirm Before, During and After
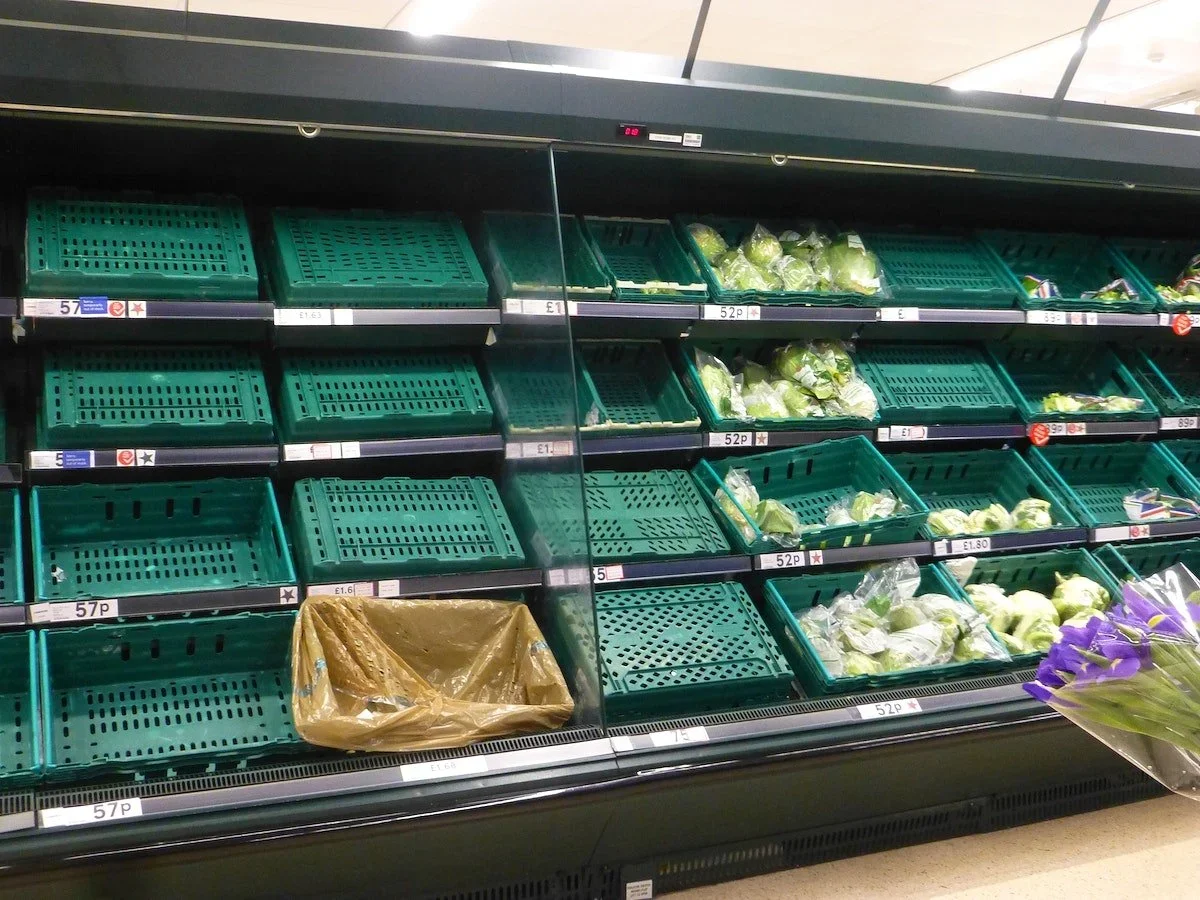
A shelf reset sounds simple until something goes wrong — stock that does not fit the new bay, a planogram that does not match the physical store, or a compliance gap that nobody notices until a head office audit. Using a structured process helps retailers complete resets accurately and provides clear evidence that the work has been completed.
Before the Reset
- Confirm that the planogram version being used is current and has not been superseded by a newer instruction from head office
- Check stock availability against the new layout — a reset with missing stock can simply create gaps in a different shape
- Agree access arrangements, working hours and who holds keys or alarm codes if the reset is taking place outside trading hours
- Confirm what "complete" means for the project — whether this means full planogram compliance or an agreed list of exceptions
During the Reset
- Work section by section against the planogram rather than relying on memory or assumptions
- Flag anything that cannot physically match the planogram, such as incorrect bay depths, missing fixtures or unsuitable shelving, as soon as it is identified
- Keep discontinued or removed stock separated and clearly labelled for return, relocation or disposal
- Take photographs as individual sections are completed rather than waiting until the entire reset is finished
After the Reset
- Complete a full before-and-after photo set covering every bay or section affected by the reset
- Record any exceptions in writing, including the reason the planned layout could not be implemented
- Confirm that discontinued or removed stock has been dealt with rather than being left unlabelled in a stockroom
- Have a clear sign-off point so the retailer or head office knows the project has been completed rather than simply started
Why This Matters for Compliance
Retail compliance is not only about completing the physical work. It is also about being able to demonstrate what was completed and identify any areas where the intended layout could not be implemented.
A shelf reset that was completed correctly but has no supporting evidence can be difficult to verify later. Clear photographs, exception notes and completion reporting provide a record of the work and make it easier for retailers and head office teams to review the result.
How EXCITY Handles Shelf Resets
EXCITY Retail Support approaches shelf resets as structured retail projects. Work is carried out section by section against the required planogram, with issues identified during the reset rather than being left until the end.
Where required, photographic evidence can be captured throughout the project alongside notes on exceptions or issues encountered. Completion reporting can then provide the retailer with a clear record of what was completed and any points requiring further action.
For retailers planning a shelf reset, range changeover or wider merchandising project, EXCITY Retail Support can review the requirements and provide a project-based quotation.